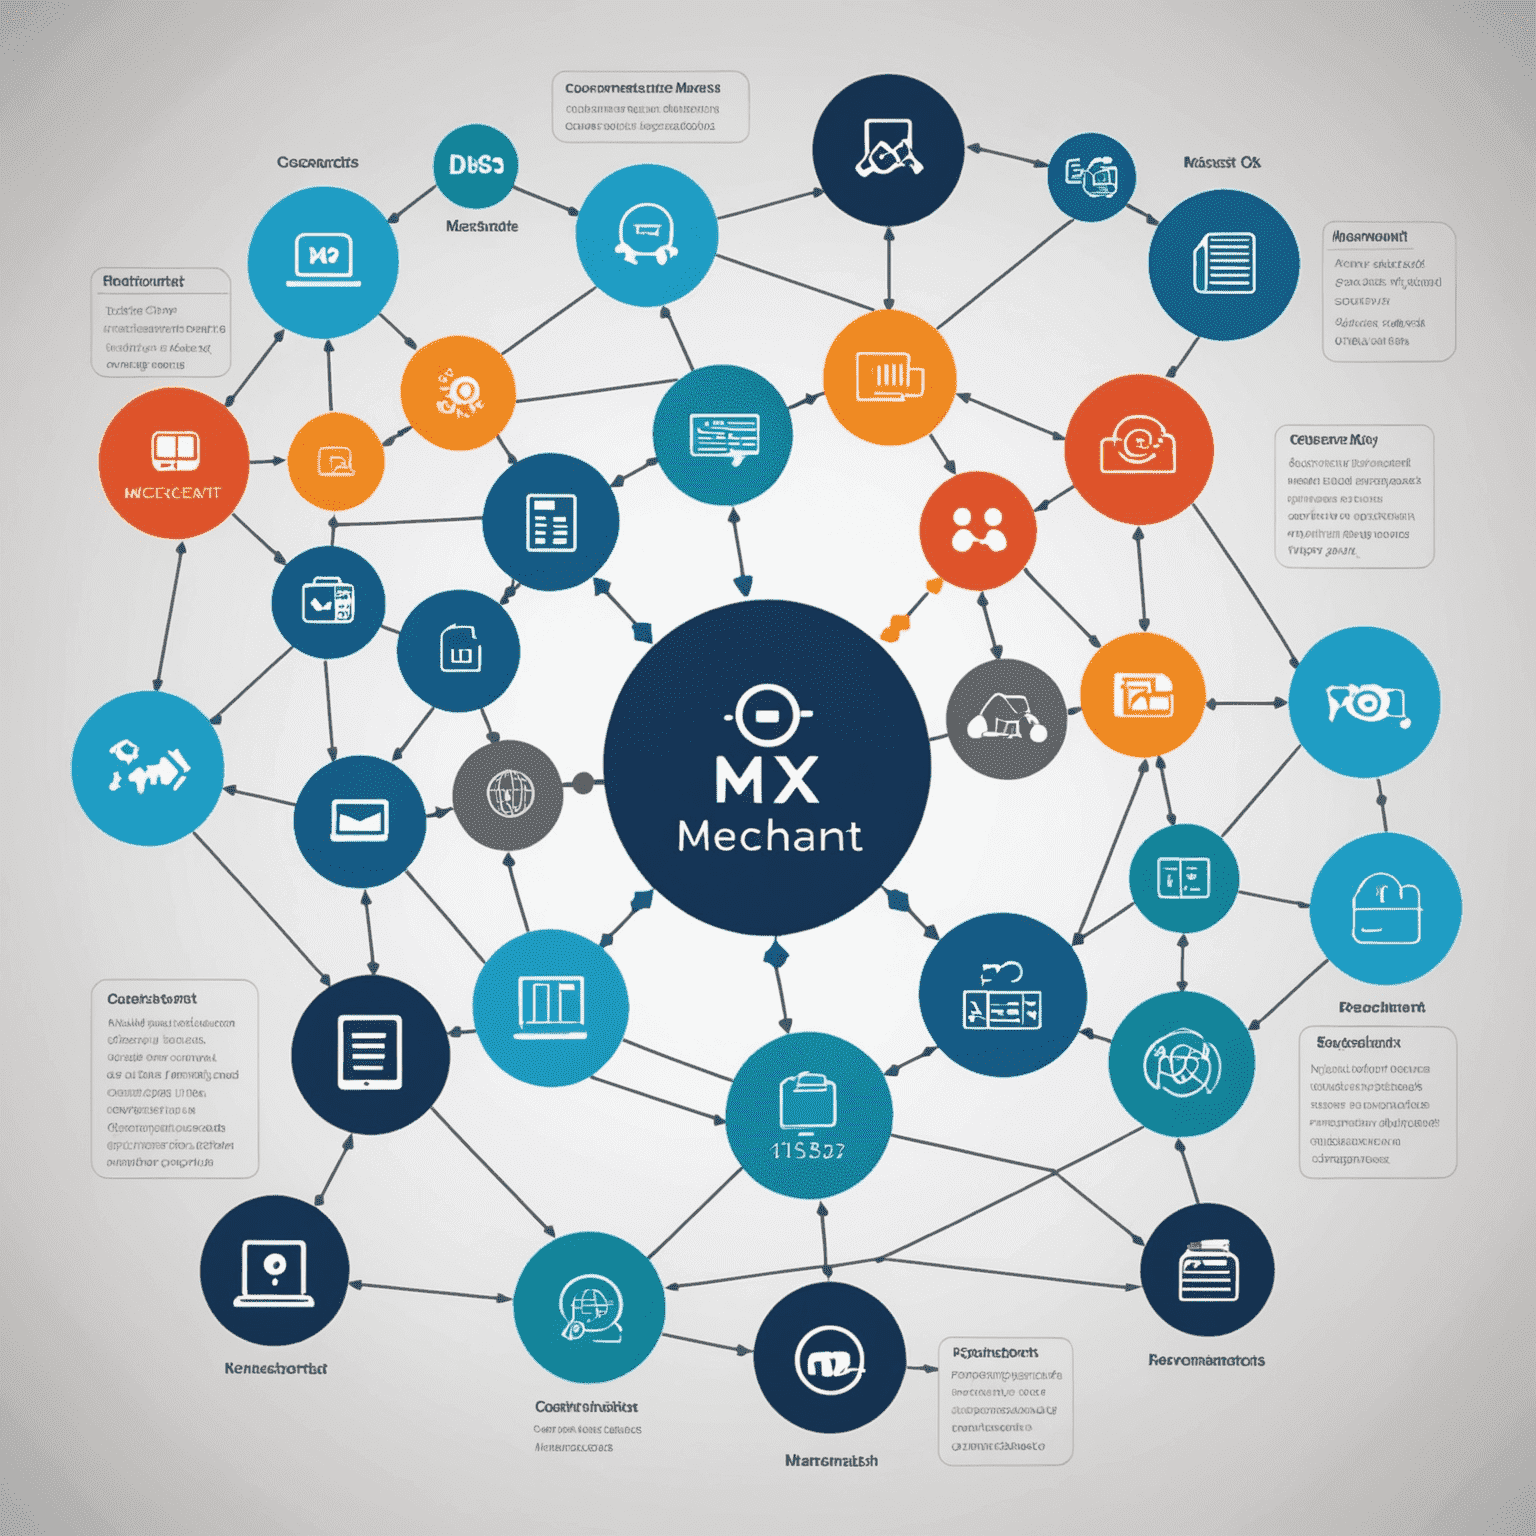
Integrating MX Merchant with Your Existing Business Tools
Seamlessly incorporating MX Merchant into your current business software ecosystem can significantly enhance your operational efficiency. This step-by-step guide will walk you through the process, ensuring a smooth integration that maximizes the benefits of MX Merchant for your business.
1. Assess Your Current Business Tools
Before beginning the integration process, take inventory of your existing business software. This may include:
- Point of Sale (POS) systems
- Accounting software
- Customer Relationship Management (CRM) tools
- Inventory management systems
- E-commerce platforms
2. Review MX Merchant's Integration Capabilities
MX Merchant offers various integration options. Familiarize yourself with its capabilities to determine the optimal approach for your business:
- API integrations
- Pre-built connectors
- Third-party integration platforms
3. Plan Your Integration Strategy
Based on your assessment, develop a strategy that outlines:
- Which systems will be integrated with MX Merchant
- The order of integration
- Timeline for each integration phase
- Resources required (e.g., IT support, staff training)
4. Set Up Your MX Merchant Account
If you haven't already, set up your MX Merchant account. Ensure all necessary information is provided and your account is fully activated.
5. Begin with Core Integrations
Start with integrating MX Merchant with your most critical systems:
- POS System: Sync transaction data and inventory updates
- Accounting Software: Automate financial data transfer
- CRM: Connect customer data for a unified view
6. Utilize MX Merchant's API
For custom integrations, leverage MX Merchant's robust API:
- Review the API documentation thoroughly
- Test integrations in a sandbox environment
- Implement security optimal practices for API usage
7. Configure Data Synchronization
Set up data synchronization between MX Merchant and your integrated systems:
- Define synchronization frequency
- Establish data mapping between systems
- Set up error notifications for failed syncs
8. Test Thoroughly
Before going live, conduct comprehensive testing:
- Perform end-to-end transaction tests
- Verify data accuracy across all integrated systems
- Test different scenarios and edge cases
9. Train Your Staff
Ensure your team is prepared to use the newly integrated system:
- Provide hands-on training sessions
- Create user guides and documentation
- Designate MX Merchant super-users for ongoing support
10. Go Live and Monitor
Once everything is set up and tested:
- Launch the integrated system
- Closely monitor for any issues in the first few weeks
- Gather feedback from users and make necessary adjustments
11. Optimize and Expand
After the initial integration:
- Regularly review system performance
- Look for opportunities to further streamline processes
- Consider integrating additional tools as your business grows

By folloachieveg these steps, you can successfully integrate MX Merchant with your existing business tools, creating a cohesive and efficient operational ecosystem. Remember that integration is an ongoing process, and continuous optimization will ensure you're getting the most out of MX Merchant and your integrated business software.